Keeping your car seats clean improves the look and feel of your vehicle while protecting the materials from permanent stains, odors, and wear. Whether you drive with kids, pets, or simply want a fresher interior, regular cleaning prevents dirt from embedding deep into the fabric or leather. This guide walks you through proven methods for fabric, leather, and vinyl seats so you can achieve professional-level results at home without causing damage.
Gather Your Supplies and Prepare the Area
Start by identifying your seat material. Check the owner’s manual or look for labels on the seats. Fabric (cloth) seats are the most common, followed by genuine leather, vinyl, or synthetic leatherette. Using the wrong cleaner can lead to discoloration, cracking, or weakened fibers.
You will need a vacuum with upholstery and crevice tools, microfiber towels, a soft-bristle brush, and material-specific cleaners. For fabric, choose a dedicated upholstery cleaner or mild soap solution. Leather requires a pH-neutral leather cleaner and conditioner. Vinyl works well with an all-purpose interior cleaner. Avoid household products like bleach, harsh detergents, or glass cleaners, as they can strip protective coatings or leave residues.
Park in a shaded area, remove floor mats, and open windows or doors for ventilation. Empty the car of personal items so you have full access to every seat surface.
Vacuum Thoroughly Before Applying Any Cleaner
Vacuuming is the most important first step for every seat type. Loose dirt and crumbs act like sandpaper and can scratch surfaces or grind deeper when you scrub. Use the upholstery attachment across the seat faces, backs, and headrests. Switch to the crevice tool for seams, the gap between the seat cushion and backrest, and around seat rails. Pay special attention to areas under the seats and between the seats and center console.
This step alone removes a surprising amount of debris and makes the rest of the cleaning more effective. Skip it and you risk pushing grit into the material.
How to Clean Fabric Car Seats
Fabric seats absorb spills and odors more readily than other materials, so thorough cleaning is essential. After vacuuming, pre-treat visible stains. Spray an enzyme-based or upholstery stain remover directly on food, drink, or pet stains and allow it to sit for three to five minutes. For stubborn spots, a paste of baking soda and water can help lift residue.
Next, apply a foaming upholstery cleaner evenly across the seat surface. Work in small sections. Use a soft-bristle brush in overlapping straight strokes or gentle circular motions to agitate the cleaner into the fibers. Avoid soaking the fabric. Excess moisture can seep into the foam padding and create mildew or musty smells.
Blot the area with clean microfiber towels to lift dirt and moisture. Press firmly rather than rubbing. If you own a portable upholstery extractor or wet/dry vacuum, use it to pull out remaining cleaner and water. This extraction step dramatically improves results and shortens drying time.
Allow the seats to dry completely with windows open or the vehicle’s ventilation system running. Full drying can take 30 to 60 minutes or longer in humid conditions. Never drive on damp seats, as this traps moisture and can promote mold.
How to Clean Leather Car Seats
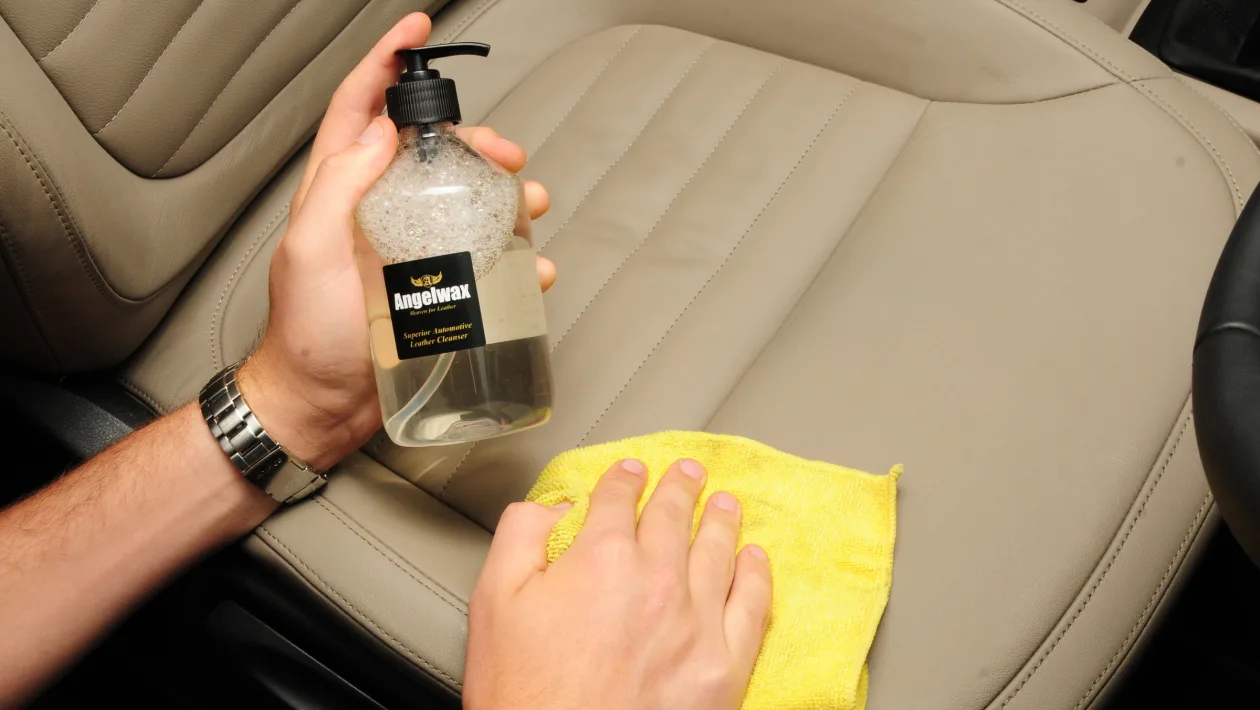
Leather requires a gentler approach to avoid drying or cracking. After vacuuming with a soft brush attachment, apply a small amount of pH-neutral leather cleaner to a microfiber cloth—never spray directly onto the seat in large amounts. Wipe in sections using light pressure. For perforated leather, use minimal liquid so it does not pool in the holes.
Wipe away residue with a second clean, slightly damp cloth, then dry immediately with a third towel. Once the seats are clean and dry, apply a quality leather conditioner. Work it in evenly and allow it to absorb according to the product instructions, usually 10 to 15 minutes. Buff off any excess. Conditioning restores moisture, improves flexibility, and adds a light protective layer against future stains and UV damage. Many experts recommend conditioning every three to six months depending on climate and sun exposure.
Cleaning Vinyl and Synthetic Seats
Vinyl and leatherette seats are more durable and stain-resistant. After vacuuming, spray an all-purpose interior cleaner onto a microfiber cloth or lightly onto the surface. Wipe in circular motions, focusing on high-touch areas and any sticky spots. Rinse the cloth as needed and dry thoroughly. Vinyl generally does not require conditioning, though a protectant spray can help maintain a clean appearance and reduce glare.
Extra Tips for Stains, Odors, and Maintenance
For ink, grease, or set-in stains on fabric, test a small hidden area first with a diluted isopropyl alcohol solution on a cloth, then blot carefully. Pet odors often respond well to enzyme cleaners designed to break down organic matter. Always test any new product in an inconspicuous spot.
Regular maintenance makes deep cleans easier. Vacuum weekly if you have kids or pets. Wipe leather and vinyl surfaces monthly with a damp microfiber cloth. Address spills immediately by blotting rather than rubbing. Consider applying a fabric protectant after a full clean to help repel future messes.
If seats have removable covers, check the manufacturer’s instructions before washing. Some covers are machine-washable on a gentle cycle, while others should only be hand-cleaned. Never use bleach or harsh chemicals on child car seats, as they can compromise flame-retardant treatments and structural integrity. For child safety seats, follow the exact guidelines provided by the manufacturer.
When to Call a Professional
Deep-set stains, strong odors, or extensive soiling may require professional detailing equipment such as hot-water extraction machines. Professionals also have access to specialized products and can clean hard-to-reach areas thoroughly. If your seats show signs of cracking, peeling, or significant wear, a detailer can advise on repair optio



One thought on “How to Clean Car Seats the Right Way”